As an Amazon Associate, Den of Laptop earns from qualifying purchases.
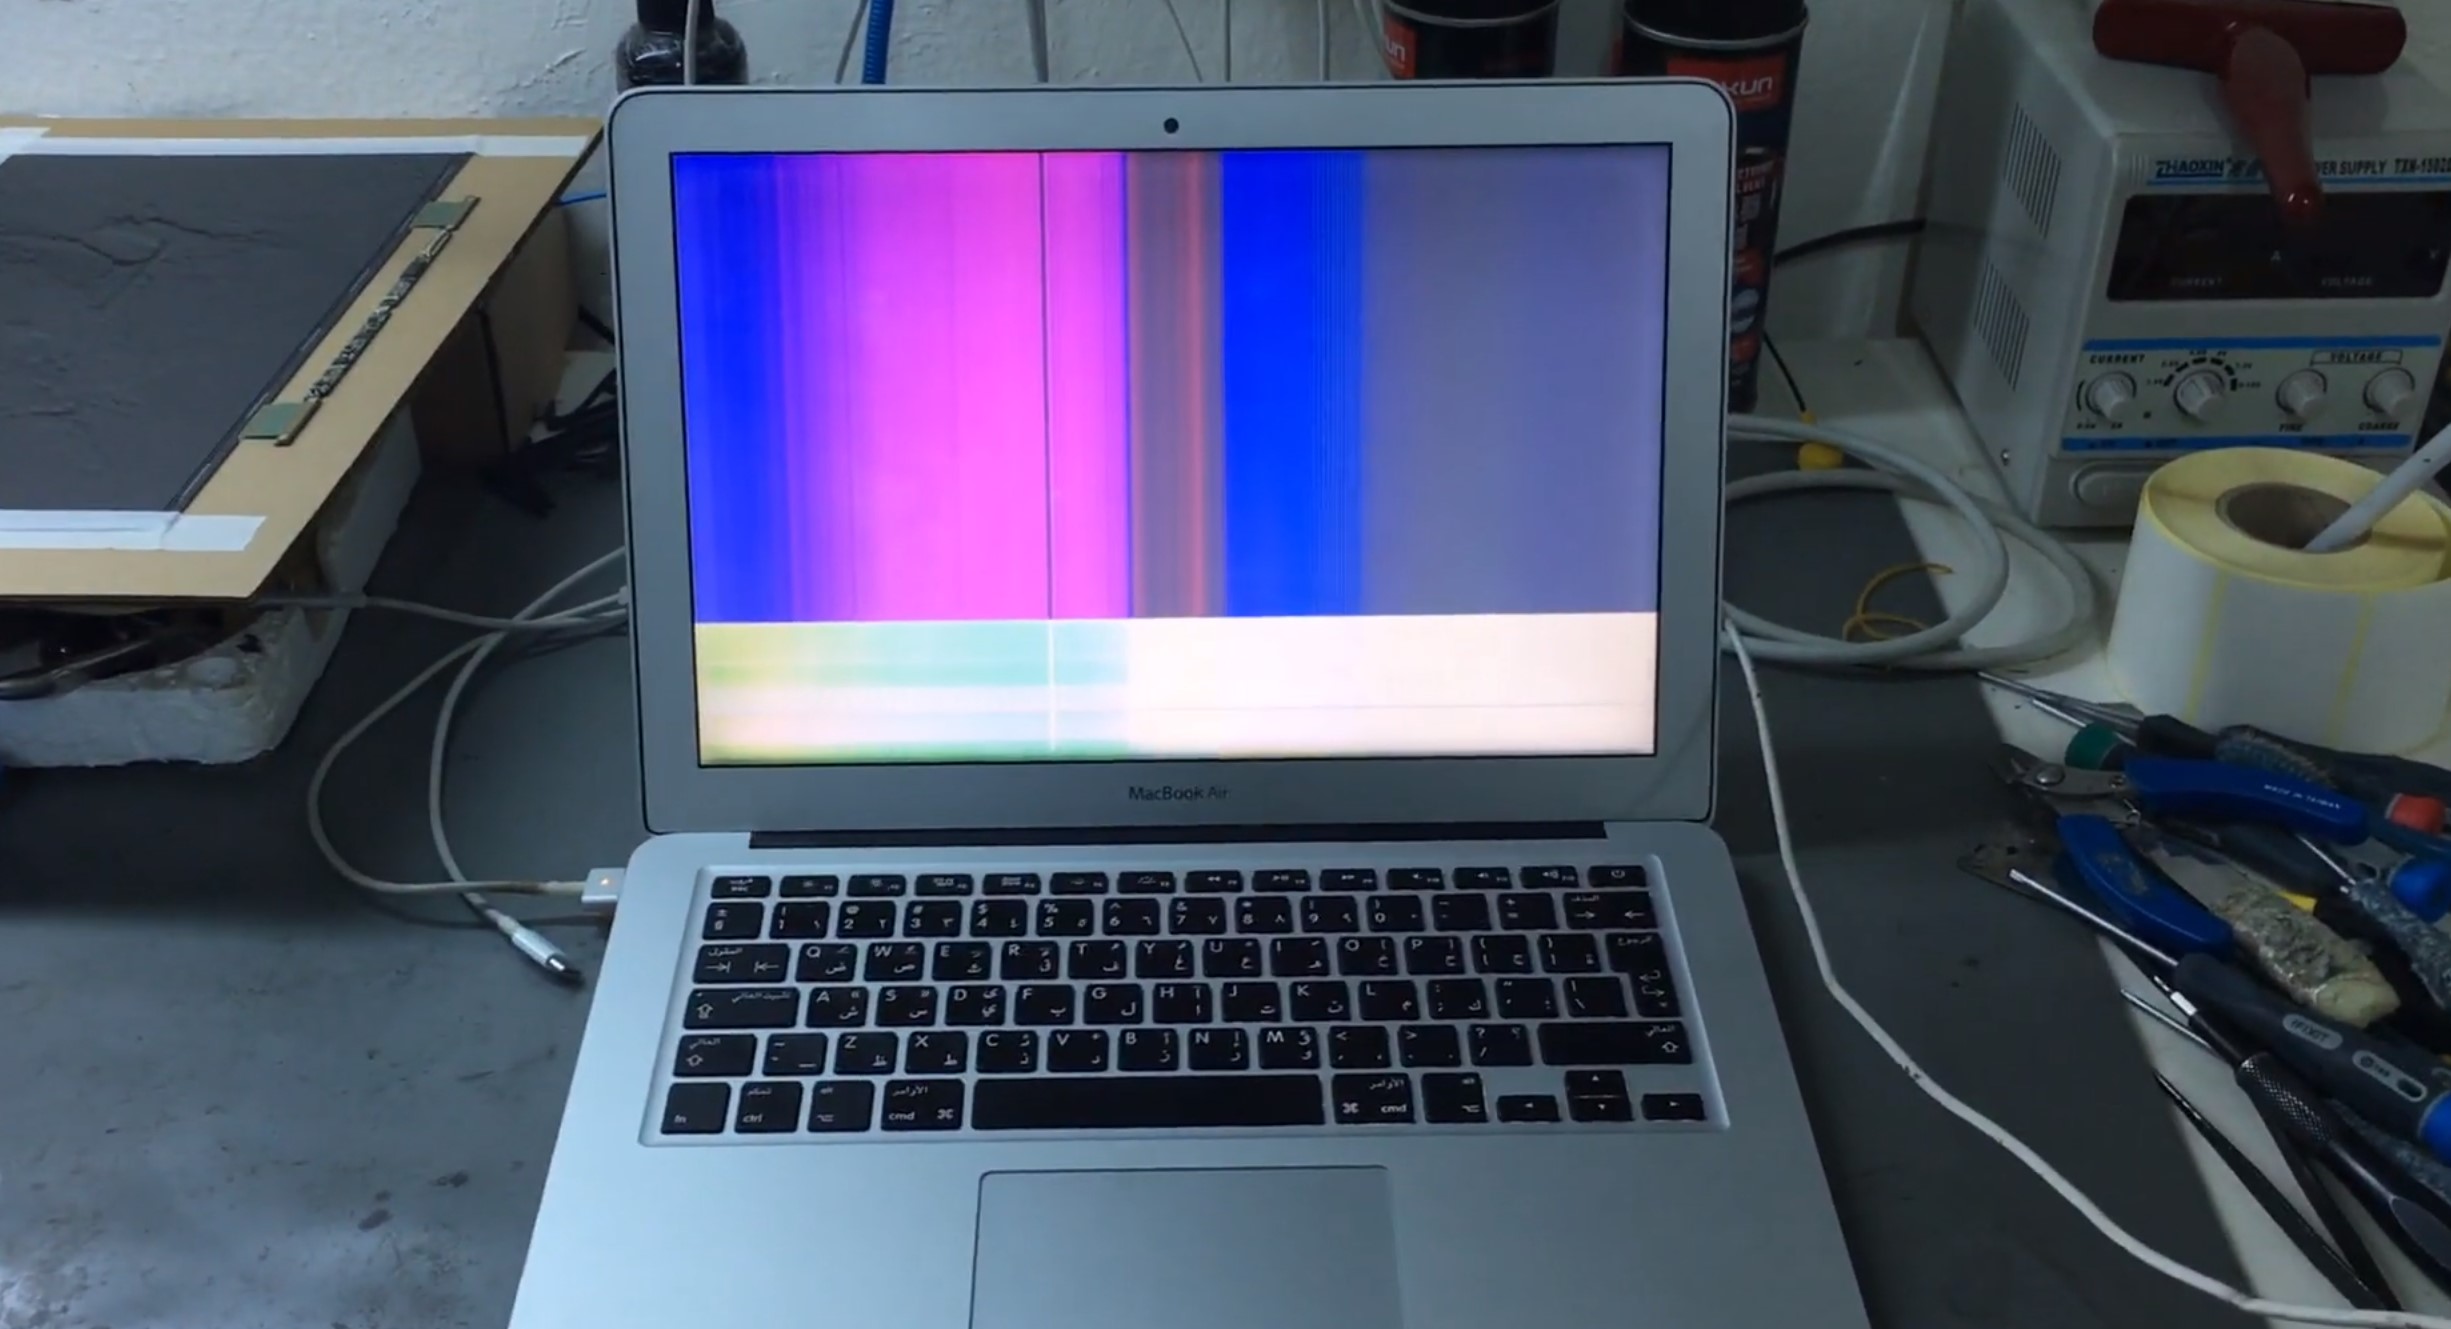
Do you have vertical colored lines on your MacBook Air screen? This can be a really frustrating problem to deal with, but don’t worry, we have a quick fix for you! In this blog post, we will show you how to get rid of those pesky vertical lines. Keep reading for step-by-step instructions.
Reasons for Vertical Colored Lines on MacBook Air Screen With Fixes
Vertical colored lines on the MacBook air screen can be caused by a variety of different things. In this blog post, we will go over five of the most common reasons for vertical lines on your screen, as well as how to fix them.
If you have vertical colored lines on your MacBook Air screen, it could be due to one of the following five reasons:
Reason #01: Loose or Damaged Cable Connection
The first reason why you might see vertical lines on your MacBook Air screen is because of a loose or damaged cable connection. If the cable that connects your MacBook Air to its display is loose, it can cause the display to show vertical lines. To fix this problem, you will need to tighten the cable connection.
How to Fix It:
First, power off your MacBook Air. Then, unplug the display cable from the back of your computer. Next, re-seat the cable in its connector on the logic board. Finally, plug the display cable back in and power on your computer. The vertical lines should be gone!
Reason #02: Display Driver Issue
Another common reason for vertical lines on a MacBook Air screen is a display driver issue. Display drivers are responsible for sending instructions to your computer’s display. If there is a problem with the display driver, it can cause vertical lines to appear on your screen. To fix this problem, you will need to update your display drivers.
How to Fix It:
The easiest way to update your display drivers is to use the built-in App Store on your MacBook Air. To do this, open the App Store and click on the Updates tab. If there are any updates available for your display drivers, they will be listed here. Install any updates that are available and restart your computer. The vertical lines should be gone!
Reason #03: Display Problem
Another possible reason for vertical lines on your MacBook Air screen is a problem with the display itself. If there is something wrong with the physical display, it can cause vertical lines to appear. This is usually not a very common problem, but it is something to keep in mind. To fix this problem, you will need to take your MacBook Air to an authorized service provider.
How to Fix It:
If you think that the vertical lines on your MacBook Air screen are being caused by a problem with the display, the best thing to do is to take it to an authorized service provider. They will be able to diagnose the problem and fix it for you.
Reason #04: Logic Board Issue
Another possible reason for vertical lines on your MacBook Air screen is a problem with the logic board. The logic board is responsible for all of the electronic components in your computer. If there is a problem with the logic board, it can cause vertical lines to appear on your screen. To fix this problem, you will need to take your MacBook Air to an authorized service provider.
How to Fix It:
If you think that the vertical lines on your MacBook Air screen are being caused by a problem with the logic board, the best thing to do is to take it to an authorized service provider. They will be able to diagnose the problem and fix it for you.
Reason #05: Temperature Problem
The final reason why you might see vertical lines on your MacBook Air screen is because of a temperature issue. If your computer gets too hot, it can cause vertical lines to appear on the screen. To fix this problem, you will need to make sure that your computer stays cool.
How to Fix It:
There are a few things that you can do to help keep your computer cool. First, make sure that you are not using it in a hot environment. Second, keep the computer clean and free of dust. Third, make sure that the vents are not blocked. Fourth, use your computer on a hard surface instead of on your lap. Finally, consider getting a cooling pad for your computer.
Reason #06: Software Problem
One other possible reason for vertical lines on your MacBook Air screen is a software problem. If there is an issue with the software that is running on your computer, it can cause vertical lines to appear. To fix this problem, you will need to reinstall the software.
How to Fix It: If you think that the vertical lines on your MacBook Air screen are being caused by a software problem, the best thing to do is to reinstall the affected software.
Reason #07: Hardware Problem
The last possible reason for vertical lines on your MacBook Air screen is a hardware problem. If there is an issue with one of the components in your computer, it can cause vertical lines to appear. To fix this problem, you will need to take your MacBook Air to an authorized service provider.
How to Fix It: If you think that the vertical lines on your MacBook Air screen are being caused by a hardware problem, the best thing to do is to take it to an authorized service provider. They will be able to diagnose the problem and fix it for you.
If you follow these steps and the vertical lines still appear on your screen, then you will need to take your MacBook Air to an authorized service provider. They will be able to diagnose the problem and fix it for you. Thanks for reading and good luck!
Conclusion
There are a few different reasons why you might see vertical lines on your MacBook Air screen. In most cases, the problem can be fixed relatively easily. However, in some cases, you may need to take your MacBook Air to an authorized service provider.
If you are seeing vertical colored lines on the MacBook Air screen, try one of the solutions listed above. If the problem persists, make sure to take it to an authorized service provider. They will be able to help you fix the problem and get your computer up and running again. Thanks for reading! We hope this article was helpful.